Installation and Setup
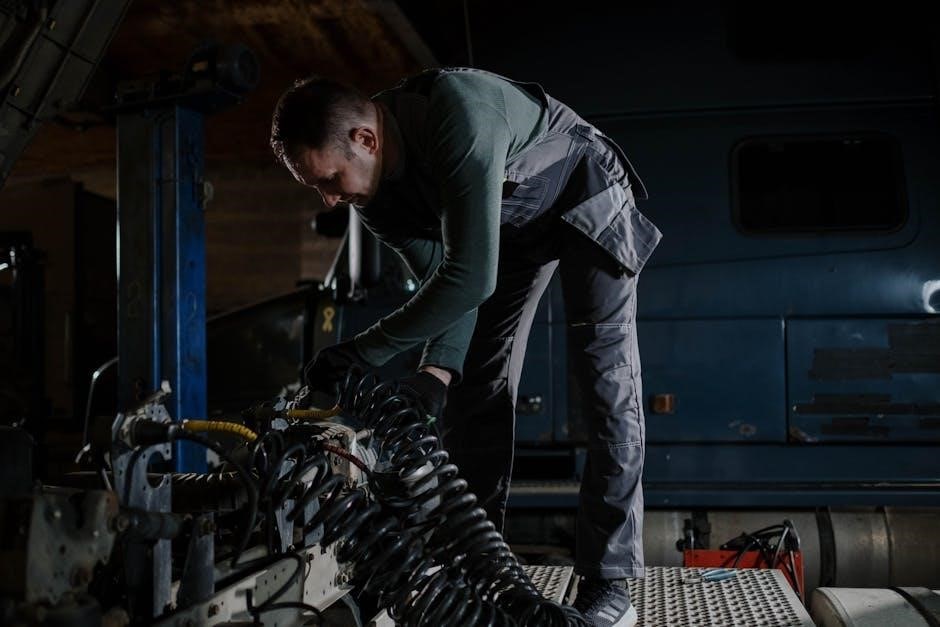
Begin by carefully unpacking the washing machine, ensuring no damage occurred during transport. Level the appliance to ensure stability and proper operation. Connect the water hoses securely, avoiding cross-threading. Plug in the machine, ensuring it is placed on a level surface with adequate ventilation. Follow the manual’s instructions for correct installation to guarantee optimal performance and safety.
1.1 Unpacking and Leveling
Unpack the washing machine carefully and inspect for any transport damage. Place the machine on a level surface using a spirit level. Adjust the feet to ensure stability and prevent vibration. Proper leveling ensures optimal performance and reduces noise during operation. Check the balance before first use for smooth functioning. Ensure all packaging materials are removed and dispose of them safely.
1.2 Connecting Water and Electricity
Connect the water hoses to the machine and water supply, ensuring they are securely attached to prevent leaks. Tighten all connections firmly and check for any water leakage. Plug the washing machine into a grounded electrical outlet to ensure safe and proper operation. Avoid using extension cords if possible.

Operating the Washing Machine
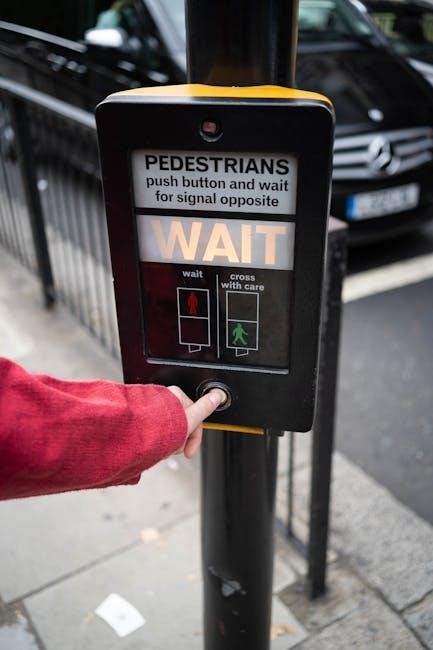
Load laundry into the machine, ensuring not to overfill. Select the appropriate wash cycle based on fabric type and soil level. Choose additional options like temperature or spin speed. Press Start to begin the cycle. Always refer to the user manual for specific programme guidance.
2.1 Selecting Wash Cycles
Use the Cycle key to choose from various wash programmes, including Eco 40-60 for energy efficiency. Select cycles based on fabric type and soil level. Refer to the user manual for specific programme guidance to ensure optimal cleaning and fabric care.
2.2 Using Detergent
Use the detergent dispenser to measure and add the recommended dosage. Ensure the detergent is suitable for the selected cycle. Avoid overloading the dispenser, as this can cause poor wash performance. For maintenance, run a service wash cycle with detergent and no laundry periodically.
Maintenance and Care
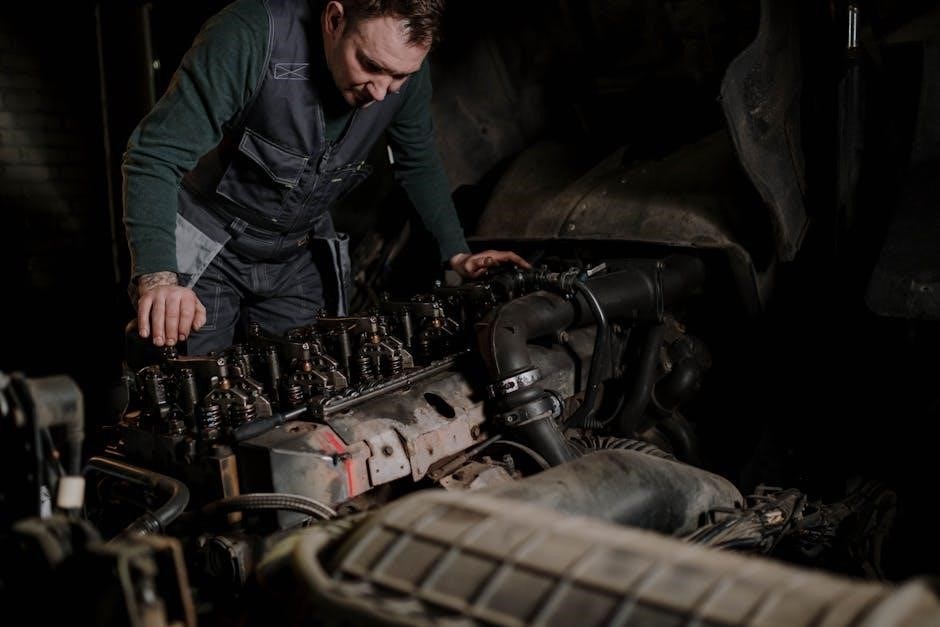
Regularly clean the washing machine and check filters to ensure optimal performance. Ensure good ventilation and avoid overloading. Run a service wash cycle with detergent periodically for maintenance.
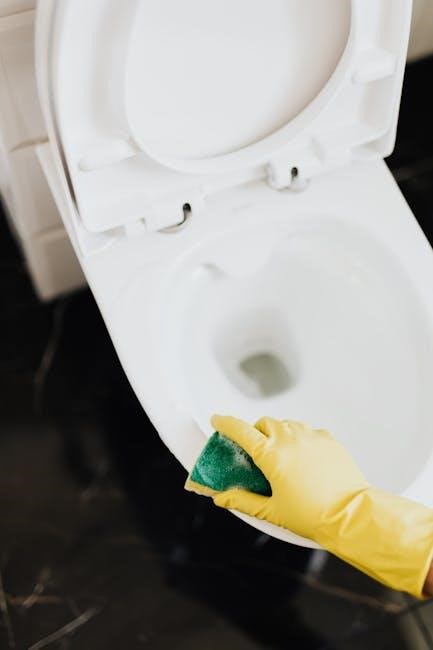
3.1 Cleaning the Machine
Regularly clean the detergent dispenser and gasket. Run a service wash cycle with detergent and no laundry to maintain hygiene. Check and clean filters monthly to ensure optimal performance and prevent blockages. This maintains efficiency and prevents odors.
3.2 Servicing
Regular servicing ensures optimal performance. Check and clean filters monthly to prevent blockages. Inspect hoses for signs of wear and replace if necessary. Run a service wash cycle with detergent to maintain hygiene and efficiency. Refer to the manual for detailed servicing instructions.

Troubleshooting Common Issues
Identify common problems like error codes or unusual noises. Check filters for blockages and ensure proper loading. Refer to the manual for specific error code solutions and restart the machine if necessary.
4.1 Common Problems
Address issues like noise, vibration, or water leaks. Check for blockages in filters or drainage. Ensure balanced loading and verify door alignment. Refer to the manual for solutions to maintain optimal performance and prevent further issues.
4.2 Error Codes
Refer to the manual for specific error codes like E01 or E02, which indicate issues such as water supply or drainage problems. Check the manual or contact customer support for detailed solutions to resolve the issue effectively.
Safety Precautions
Always follow safety guidelines to avoid accidents. Keep children away from the machine while it is in operation. Never lean on the door or attempt to open it during the wash cycle. Ensure the machine is installed on a stable, heat-resistant surface and keep the area around it clear to prevent hazards.
5.1 General Safety Tips
Ensure children do not play near the washing machine while it operates. Avoid overloading the machine to prevent imbalance. Keep the detergent away from children and pets. Never operate the machine with damaged cords or plugs. Regularly inspect and maintain the appliance to ensure safe functioning. Always follow the user manual’s guidelines for safe usage and maintenance. Keep the area around the machine clear to avoid tripping hazards and ensure proper ventilation. Do not leave the machine unattended during operation. Familiarize yourself with emergency stop procedures. Check for loose clothing or items that could cause accidents during the wash cycle. Ensure all parts are securely closed before starting the machine. Follow the recommended detergent usage to avoid excessive suds. Regularly clean the gasket and dispenser to prevent mold buildup. Always unplug the machine before performing any maintenance. Be cautious when handling hot surfaces or parts after a wash cycle. Keep the user manual accessible for quick reference. Ensure the machine is installed on a stable, level surface to prevent vibrations. Do not use the machine if it has been damaged in any way. Follow the manufacturer’s instructions for all aspects of operation and care. Keep emergency contact information handy in case of malfunctions. Educate all users in the household about proper safety precautions. Use only approved accessories and parts for the machine. Regularly check for software updates to ensure optimal performance. Familiarize yourself with the machine’s error codes and troubleshooting steps. Keep the machine’s serial number and purchase information readily available. Be aware of the machine’s power consumption and avoid overloading circuits. Follow local regulations for waste disposal when replacing parts. Use protective gloves when handling sharp or heavy components. Ensure the machine is properly grounded to prevent electrical shocks. Keep the machine’s exterior clean to maintain its efficiency and appearance. Stay informed about any product recalls or safety notices. Use the machine only for its intended purpose as described in the manual. Avoid using abrasive cleaners that could damage the machine’s surfaces. Keep the user manual updated in case of any revisions. Be mindful of the machine’s noise levels and place it in an appropriate location. Follow the recommended cycle for washing different fabric types. Keep track of the machine’s maintenance schedule to prevent breakdowns. Always prioritize safety when dealing with electrical appliances like the washing machine. Be cautious when handling hot water during the wash cycle. Ensure the machine is placed away from direct sunlight to avoid overheating. Keep the area around the machine well-ventilated to prevent moisture buildup. Follow the manufacturer’s guidelines for energy efficiency. Be aware of the machine’s weight and handle it carefully during installation. Use a sturdy power cord and avoid using extension cords whenever possible. Keep the machine’s lid closed when not in use to prevent accidental starts. Familiarize yourself with the machine’s child lock features for added safety. Use only the recommended detergents to maintain the machine’s performance. Keep the machine’s filters clean to ensure proper drainage. Be cautious when handling the machine’s moving parts, such as the door and hinges. Ensure the machine is properly installed to prevent leaks and water damage; Follow the recommended load sizes to avoid overloading the machine. Keep the machine’s user manual in a safe and accessible location. Be aware of the machine’s power button and know how to turn it off quickly if needed. Use the machine’s delayed start feature wisely to avoid unexpected starts. Keep the machine’s emergency drain procedure handy in case of malfunctions. Be cautious when handling the machine’s electrical components. Follow the manufacturer’s instructions for all repairs and maintenance. Keep the machine’s serial number and model information easily accessible. Be aware of the machine’s environmental impact and follow eco-friendly guidelines. Familiarize yourself with the machine’s noise reduction features for quiet operation. Keep the machine’s exterior clean to maintain its appearance and functionality. Follow the recommended maintenance schedule to extend the machine’s lifespan. Be cautious when handling the machine’s hot surfaces after a wash cycle. Keep the machine’s user manual updated with any new information or guidelines. Follow the manufacturer’s instructions for disposing of packaging materials. Be aware of the machine’s energy consumption and use energy-efficient cycles. Keep the machine’s surrounding area clear to avoid fire hazards. Use only the recommended cleaning products for the machine’s surfaces. Familiarize yourself with the machine’s error codes and troubleshooting steps. Keep the machine’s installation manual handy for future reference. Be cautious when handling the machine’s sharp edges or components. Follow the manufacturer’s guidelines for recycling old parts. Keep the machine’s filters clean to ensure proper airflow. Be aware of the machine’s maximum load capacity to avoid overloading. Use the machine’s eco-mode for energy-efficient washing. Keep the machine’s user manual in a dry and secure location. Be cautious when handling the machine’s electrical cords and plugs. Follow the manufacturer’s instructions for all aspects of machine operation. Keep the machine’s serial number and purchase information organized. Be aware of the machine’s environmental impact and follow eco-friendly practices. Familiarize yourself with the machine’s child safety features for added protection. Keep the machine’s exterior surfaces clean to maintain its efficiency. Follow the recommended maintenance schedule to prevent mechanical issues. Be cautious when handling the machine’s hot surfaces after a cycle. Keep the machine’s user manual updated for any new features or updates. Follow the manufacturer’s guidelines for proper installation and setup. Be aware of the machine’s weight and handle it with care during relocation. Use the machine’s safety features to prevent accidents and ensure safe operation. Keep the machine’s filters clean to maintain its performance and efficiency. Be cautious when handling the machine’s moving parts to avoid injuries. Follow the manufacturer’s instructions for all repairs and maintenance tasks. Keep the machine’s serial number and model information easily accessible for service. Be aware of the machine’s environmental impact and use eco-friendly settings. Familiarize yourself with the machine’s noise reduction features for quiet operation. Keep the machine’s exterior clean to maintain its appearance and functionality. Follow the recommended maintenance schedule to extend the machine’s lifespan. Be cautious when handling the machine’s hot surfaces after a wash cycle. Keep the machine’s user manual updated with any new information or guidelines. Follow the manufacturer’s instructions for disposing of packaging materials. Be aware of the machine’s energy consumption and use energy-efficient cycles. Keep the machine’s surrounding area clear to avoid fire hazards. Use only the recommended cleaning products for the machine’s surfaces. Familiarize yourself with the machine’s error codes and troubleshooting steps. Keep the machine’s installation manual handy for future reference. Be cautious when handling the machine’s sharp edges or components. Follow the manufacturer’s guidelines for recycling old parts. Keep the machine’s filters clean to ensure proper airflow. Be aware of the machine’s maximum load capacity to avoid overloading. Use the machine’s eco-mode for energy-efficient washing. Keep the machine’s user manual in a dry and secure location. Be cautious when handling the machine’s electrical cords and plugs. Follow the manufacturer’s instructions for all aspects of machine operation. Keep the machine’s serial number and purchase information organized. Be aware of the machine’s environmental impact and follow eco-friendly practices. Familiarize yourself with the machine’s child safety features for added protection. Keep the machine’s exterior surfaces clean to maintain its efficiency. Follow the recommended maintenance schedule to prevent mechanical issues. Be cautious when handling the machine’s hot surfaces after a cycle. Keep the machine’s user manual updated for any new features or updates. Follow the manufacturer’s guidelines for proper installation and setup. Be aware of the machine’s weight and handle it with care during relocation. Use the machine’s safety features to prevent accidents and ensure safe operation. Keep the machine’s filters clean to maintain its performance and efficiency. Be cautious when handling the machine’s moving parts to avoid injuries. Follow the manufacturer’s instructions for all repairs and maintenance tasks. Keep the machine’s serial number and model information easily accessible for service. Be aware of the machine’s environmental impact and use eco-friendly settings. Familiarize yourself with the machine’s noise reduction features for quiet operation. Keep the machine’s exterior clean to maintain its appearance and functionality. Follow the recommended maintenance schedule to extend the machine’s lifespan. Be cautious when handling the machine’s hot surfaces after a wash cycle. Keep the machine’s user manual updated with any new information or guidelines. Follow the manufacturer’s instructions for disposing of packaging materials. Be aware of the machine’s energy consumption and use energy-efficient cycles. Keep the machine’s surrounding area clear to avoid fire hazards. Use only the recommended cleaning products for the machine’s surfaces. Familiarize yourself with the machine’s error codes and troubleshooting steps. Keep the machine’s installation manual handy for future reference. Be cautious when handling the machine’s sharp edges or components. Follow the manufacturer’s guidelines for recycling old parts. Keep the machine’s filters clean to ensure proper airflow. Be aware of the machine’s maximum load capacity to avoid overloading. Use the machine’s eco-mode for energy-efficient washing. Keep the machine’s user manual in a dry and secure location. Be cautious when handling the machine’s electrical cords and plugs. Follow the manufacturer’s instructions for all aspects of machine operation. Keep the machine’s serial number and purchase information organized. Be aware of the machine’s environmental impact and follow eco-friendly practices. Familiarize yourself with the machine’s child safety features for added protection. Keep the machine’s exterior surfaces clean to maintain its efficiency. Follow the recommended maintenance schedule to prevent mechanical issues. Be cautious when handling the machine’s hot surfaces after a cycle. Keep the machine’s user manual updated for any new features or updates. Follow the manufacturer’s guidelines for proper installation and setup. Be aware of the machine’s weight and handle it with care during relocation. Use the machine’s safety features to prevent accidents and ensure safe operation. Keep the machine’s filters clean to maintain its performance and efficiency. Be cautious when handling the machine’s moving parts to avoid injuries. Follow the manufacturer’s instructions for all repairs and maintenance tasks. Keep the machine’s serial number and model information easily accessible for service. Be aware of the machine’s environmental impact and use eco-friendly settings. Familiar
5.2 Specific Warnings
- Do not open the washing machine door during the drying cycle unless absolutely necessary.
- Avoid overloading the machine, as it may cause imbalance or damage.
- Never use excessive detergent, as it may lead to excessive foam and poor rinsing.
- Ensure the machine is properly secured during transportation to prevent damage.
- Be cautious when handling hot surfaces or parts after a wash cycle.
- Do not leave children unattended near the machine while it is in operation.
Energy Efficiency and Eco Modes
- Hotpoint washing machines offer eco-friendly modes to reduce energy consumption. Select the Eco 40-60 program for optimal efficiency.
- Using the correct detergent dosage helps lower energy use and protects the environment.
- Regular maintenance ensures the machine operates efficiently, minimizing energy waste.

Troubleshooting
The Eco Mode on Hotpoint washing machines offers an energy-efficient and environmentally friendly option for your laundry needs. The Eco 40-60 program is designed for optimal energy savings while maintaining wash quality. Ideal for everyday use, it helps reduce your environmental impact without compromising on performance.