Rival Ice Cream and Yogurt Maker: A Comprehensive Manual Guide
Rival offers quick and easy homemade frozen desserts, including ice cream and yogurt, featuring a 1;2-amp motor with automatic shut-off and a durable metal container.
Welcome! This manual guides you through operating your Rival electric ice cream and yogurt maker, models like FRRVBK02-BLU and GC8101-WN. Enjoy creating delicious, homemade frozen treats effortlessly. Before first use, carefully read all safety precautions and instructions to ensure optimal performance and longevity of your appliance.
This machine is designed for simplicity and convenience, allowing you to quickly produce classic ice cream, refreshing frozen yogurt, and explore a variety of customized recipes. The included owner’s guide, dated May 1, 2014, provides essential information. Remember to always prioritize safety when working with electrical appliances, and retain this manual for future reference.

Understanding the Components
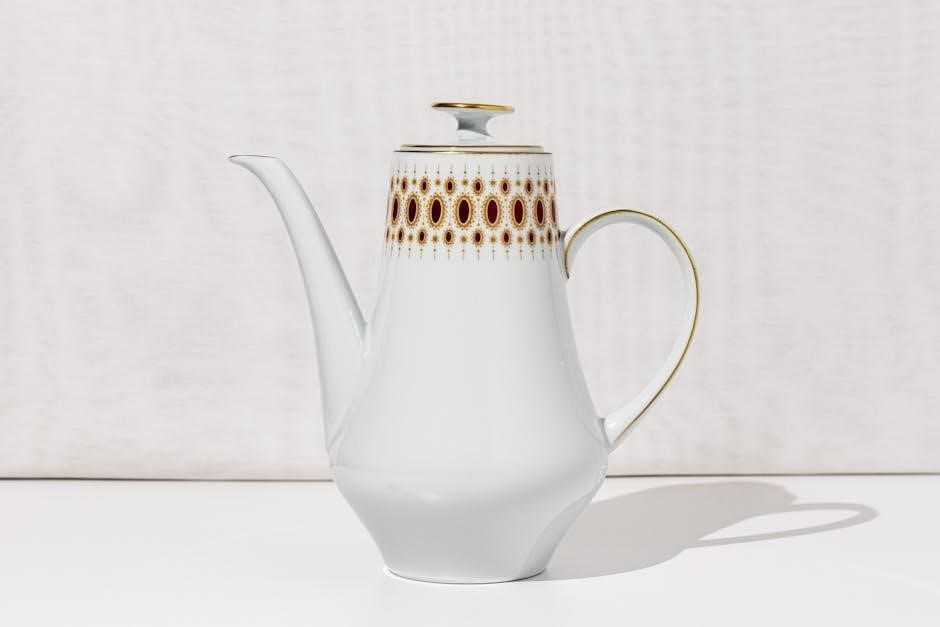
Your Rival ice cream and yogurt maker consists of several key parts working in harmony. A powerful 1.2-amp motor drives the mixing process, automatically shutting off when complete. The durable metal container efficiently freezes your mixtures, ensuring consistent results. Familiarize yourself with each component before operation.
These include the motor base, the freezer container, a mixing paddle (often red or similar color), and the container lid. Some models may include additional accessories like recipe booklets or measuring tools. Proper assembly is crucial; ensure all parts are securely connected before starting. Refer to the diagrams within the owner’s guide (KMAN011.01.US.0M1) for visual assistance and correct component identification.
Safety Precautions – Essential Reading
Prior to operating your Rival ice cream maker, carefully review these essential safety precautions. Always read all instructions thoroughly before use to prevent potential hazards. Never operate the appliance with a damaged cord or plug. Avoid using extension cords.
Ensure the unit is placed on a stable, level surface during operation. Do not immerse the motor base in water or any other liquid. Keep hands and utensils away from the moving mixing paddle while the machine is running. Unplug the appliance when not in use and before cleaning. This appliance is for household use only; commercial applications are not recommended. Following these guidelines ensures safe and enjoyable operation.
Preparing for First Use: Cleaning and Setup
Before enjoying your first batch of homemade treats with your Rival ice cream and yogurt maker, proper cleaning and setup are crucial. Begin by washing the durable metal container and mixing paddle with warm, soapy water. Rinse thoroughly and dry completely.
Ensure all components are fully dry before assembly. Place the metal container inside the unit, aligning it correctly. Before freezing your ice cream base, pre-freeze the metal container for at least 24 hours to achieve optimal results. This ensures efficient freezing and a creamy texture. Proper preparation guarantees a delightful dessert experience.
Making Classic Ice Cream: A Step-by-Step Guide
Creating delicious ice cream with your Rival machine is simple! First, ensure the metal container is fully frozen – a minimum of 24 hours is recommended. Prepare your ice cream base according to your chosen recipe. Carefully pour the mixture into the frozen container, ensuring it doesn’t exceed the fill line.
Secure the mixing paddle into the machine and turn it on. Allow the machine to run for approximately 20-30 minutes, or until the ice cream reaches your desired consistency. The automatic shut-off feature will activate when complete. Enjoy immediately for a soft-serve texture, or freeze further for a firmer consistency.
Basic Ice Cream Recipe
This classic vanilla ice cream recipe is perfect for your Rival ice cream maker. You’ll need 2 cups of heavy cream, 1 cup of whole milk, ¾ cup of granulated sugar, and 1 teaspoon of vanilla extract. Begin by combining the cream, milk, and sugar in a saucepan. Heat gently over medium heat, stirring until the sugar is completely dissolved.
Remove from heat and stir in the vanilla extract. Allow the mixture to cool completely – chilling it in the refrigerator for at least two hours is recommended. Once chilled, pour into your prepared Rival ice cream maker and follow the ‘Making Classic Ice Cream’ instructions for a delightful treat!

Troubleshooting Common Ice Cream Issues
If your ice cream isn’t freezing, ensure the mixture is thoroughly chilled before adding it to the Rival machine. Verify the unit is properly assembled and the motor is receiving power. A weak consistency often indicates insufficient chilling time or an incorrect ingredient ratio – double-check your recipe!
For grainy ice cream, the mixture may have frozen too slowly. Ensure the metal container is completely frozen. If ice crystals form, it could be due to slow churning; try reducing the freezing time slightly. Always read and follow all safety precautions detailed in the instruction manual for optimal results and a delicious dessert.
Exploring Frozen Yogurt Creations
The Rival ice cream maker isn’t limited to just ice cream! It excels at creating delightful frozen yogurt. Understanding the key differences between yogurt and ice cream is crucial – yogurt has a higher water content and lower fat, resulting in a different texture.
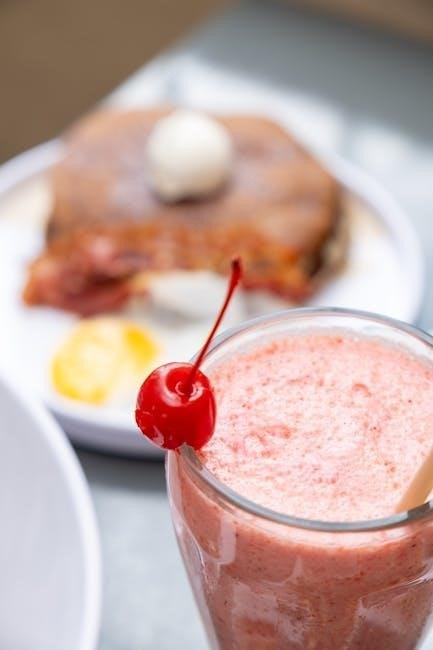
Flavoring your frozen yogurt is simple. Combine pureed fruits like cherries with yogurt, whipping cream, sugar, and vanilla for a vibrant treat. Experiment with different yogurt types (Greek, regular) to alter the tanginess and thickness. Remember to chill the mixture thoroughly before churning for best results, as detailed in the manual’s instructions.
Yogurt vs. Ice Cream: Key Differences
When utilizing your Rival machine for frozen desserts, recognizing the distinctions between yogurt and ice cream is paramount for achieving optimal texture and flavor. Ice cream traditionally boasts a higher fat content, contributing to a richer, creamier consistency. Conversely, frozen yogurt generally contains less fat and a notable increase in water content.
This difference impacts the churning process; yogurt mixtures may freeze faster and yield a slightly icier texture if not properly balanced. Adjusting the recipe – perhaps adding a touch more cream or a stabilizer – can mitigate this. Understanding these nuances, as outlined in the manual, ensures consistently delicious results with either treat.
Flavoring Your Frozen Yogurt
The Rival ice cream and yogurt maker excels at creating customized frozen treats! Flavoring your frozen yogurt is remarkably versatile. Pureed fruits, like cherries mentioned in included recipes, blend beautifully during the churning process, imparting natural sweetness and vibrant flavors. Extracts – vanilla, almond, or lemon – offer concentrated tastes, requiring only a teaspoon or two.
For bolder profiles, consider incorporating yogurt itself with added fruit purees, whipping cream, sugar, and vanilla. Remember to add liquid flavorings after the initial churning phase to prevent ice crystal formation. Experimentation is encouraged; the manual supports your creative dessert journey!
Advanced Recipes: Beyond the Basics
Unlock the full potential of your Rival ice cream and yogurt maker with these advanced recipes! Venture beyond classic flavors and explore exciting combinations. The manual supports creating both fruit-based delights and rich, decadent treats. Imagine vibrant sorbets using seasonal fruits, or creamy yogurts infused with exotic spices.
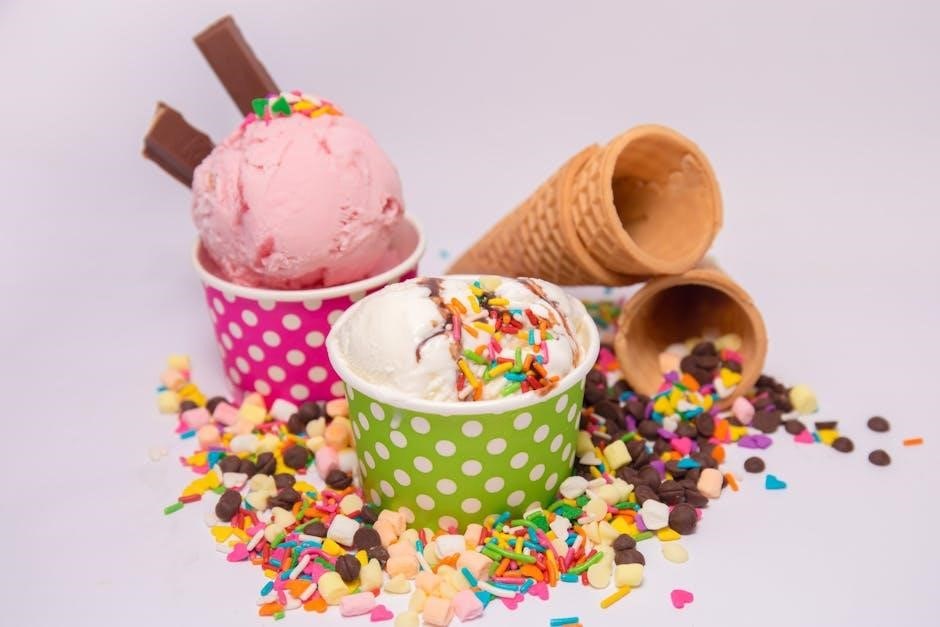
Chocolate and nutty combinations are particularly rewarding. Consider adding cocoa powder, chocolate chips, or a swirl of melted chocolate to your base. Roasted nuts, like pecans or walnuts, provide delightful texture and flavor. Remember to adjust sweetness levels to complement the added ingredients. The possibilities are endless – let your imagination guide you!
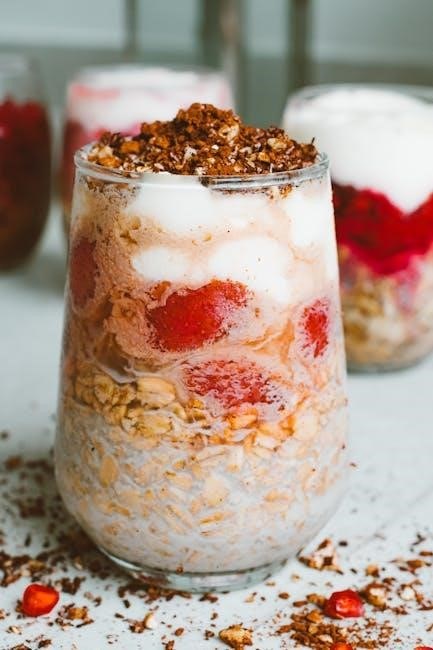
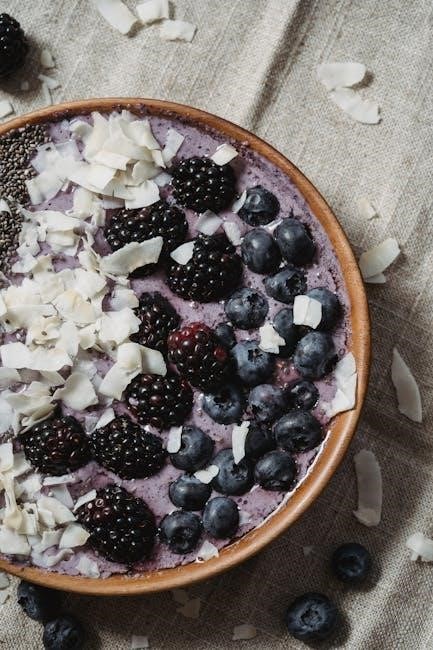
Fruit-Based Ice Cream & Yogurt Recipes
Embrace the freshness of seasonal fruits with your Rival machine! Pureed cherries combine beautifully with yogurt, whipping cream, sugar, and vanilla for a delightful treat. Experiment with strawberries, blueberries, raspberries, or peaches – the options are limitless. For a lighter option, focus on yogurt-based recipes, reducing the cream content.
Remember to adjust sugar levels based on the fruit’s natural sweetness. Consider adding a squeeze of lemon juice to enhance the flavors. Frozen fruit can also be used, but may require a slightly longer churning time. These recipes offer a healthy and refreshing alternative to traditional ice cream, perfect for any occasion!
Chocolate & Nutty Delights
Indulge your sweet tooth with rich chocolate and nutty creations using your Rival ice cream and yogurt maker! Melted dark chocolate can be incorporated directly into the base mixture for an intense flavor. Add chopped nuts – walnuts, pecans, or almonds – for a satisfying crunch. Consider swirling in a ribbon of chocolate sauce after churning for an extra decadent touch.
For a nutty yogurt variation, blend peanut butter or almond butter into the yogurt base. A sprinkle of cocoa powder enhances the chocolate notes. Don’t be afraid to experiment with different combinations; a touch of espresso powder complements chocolate beautifully. These recipes are sure to satisfy any chocolate and nut lover!
Cleaning and Maintenance
Maintaining your Rival ice cream and yogurt maker ensures longevity and optimal performance. Always unplug the appliance before cleaning. Disassemble the components for a thorough wash – the metal container, dasher, and lid. Wash these parts with warm, soapy water, and rinse completely. Avoid abrasive cleaners that could damage the surfaces.

The motor housing should be wiped clean with a damp cloth; never immerse it in water. Ensure all parts are completely dry before reassembling and storing. Proper storage is crucial; keep the machine in a cool, dry place. Regular cleaning prevents buildup and maintains the quality of your homemade treats.
Disassembling for Thorough Cleaning
Before initiating a deep clean of your Rival ice cream maker, ensure the unit is unplugged. Begin by removing the lid, then carefully lift out the dasher assembly. The metal container can then be detached from the base. These three primary components require individual attention for optimal hygiene.
Inspect each part for any remaining ice cream or yogurt residue. Pay close attention to the dasher’s crevices and the container’s interior. Disassembly allows for access to all areas, preventing bacterial growth and ensuring fresh-tasting desserts. Remember to keep track of all parts during disassembly for easy reassembly later.

Proper Storage Techniques
After thorough cleaning and complete drying of all Rival ice cream maker components, proper storage is crucial. Store the metal container, dasher, and lid in a cool, dry location, away from direct sunlight and extreme temperatures. Avoid stacking heavy items on top of the components, as this could cause damage.
The motor base should also be stored in a dry environment. Consider using the original packaging for protection during long-term storage. Proper storage prevents corrosion and ensures the longevity of your appliance. Regularly inspect stored parts for any signs of deterioration before future use, guaranteeing optimal performance.
Motor and Automatic Shut-Off Features
Your Rival ice cream and yogurt maker is equipped with a powerful 1.2-amp motor designed for efficient operation. This motor provides consistent churning, essential for creating smooth and creamy frozen desserts. A key safety feature is the automatic shut-off function. This prevents motor overheating and potential damage during extended use.
The automatic shut-off activates when the motor reaches its maximum safe operating temperature or if the mixture freezes solid, preventing strain. Always ensure the unit is unplugged before disassembling or cleaning. This feature enhances the appliance’s durability and ensures safe operation for years to come.
Understanding the Durable Metal Container
The Rival ice cream and yogurt maker features a robust, durable metal container specifically designed for efficient freezing. This container’s material ensures even distribution of cold, crucial for achieving the desired texture in your frozen treats. Unlike plastic alternatives, metal retains cold exceptionally well, reducing freeze times and improving consistency.
Before each use, ensure the container is thoroughly chilled – ideally, place it in the freezer for at least 24 hours. This pre-chilling step is vital for optimal performance. The container’s capacity is 2 quarts, allowing for generous batch sizes. Handle with care to avoid dents, as damage can affect freezing efficiency.
Recipe Adaptations & Customization
Unleash your creativity with Rival’s ice cream and yogurt maker! Adjusting sweetness is simple – start with the recipe’s suggested amount of sugar and taste-test the base before freezing, adding more as needed. For richer flavors, incorporate extracts like vanilla or almond.
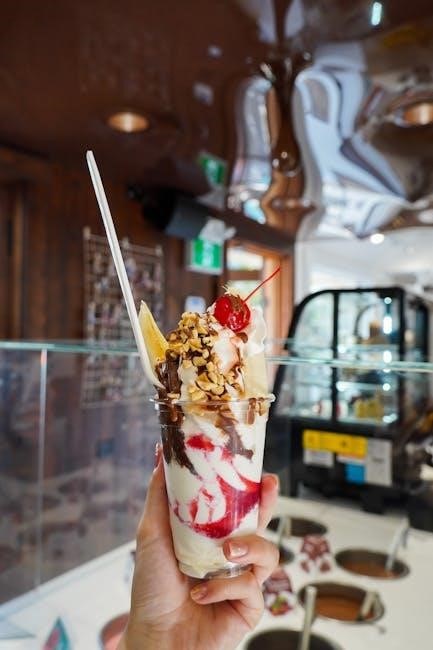
Adding mix-ins elevates your creations. Fruits (pureed or chopped), nuts, chocolate chips, and cookie pieces can be gently folded in during the last few minutes of churning. Remember not to overfill the container; leave some space for expansion. Experiment with combining pureed cherries with yogurt, whipping cream, and sugar for a delightful twist!
Adjusting Sweetness Levels
Achieving the perfect sweetness in your homemade ice cream and yogurt is easily customizable with your Rival machine. Begin by adhering to the sugar quantities outlined in your chosen recipe as a foundational starting point. Before initiating the freezing process, carefully taste-test the ice cream base.
Gradually incorporate additional sugar, a tablespoon at a time, ensuring thorough mixing after each addition. Continue tasting until the desired sweetness level is reached. Remember that freezing can slightly diminish perceived sweetness, so err on the side of slightly sweeter than preferred in the base. Personal preference is key!
Adding Mix-Ins: Fruits, Nuts, and More
Enhance your Rival ice cream and yogurt creations with delightful mix-ins! For optimal texture and distribution, add these during the final 5-10 minutes of the churning process. Fruits should be chopped into small, manageable pieces – consider freezing them beforehand to prevent excessive softening.
Nuts, chocolate chips, or candies can be added directly. Avoid adding large quantities of frozen mix-ins, as this may strain the motor. Gently fold the mix-ins into the ice cream or yogurt as it continues to churn, ensuring even dispersal. Experiment with combinations to discover your favorite personalized flavors!
Troubleshooting: Common Problems and Solutions
If your Rival ice cream isn’t freezing, ensure the mixture is thoroughly chilled beforehand. Verify the freezer bowl is completely frozen – typically requiring 24 hours. A weak consistency might indicate insufficient churning time; allow the machine to run for the full cycle.
If the motor seems strained, avoid overfilling the bowl or adding excessively frozen ingredients. Should the machine stop unexpectedly, check the automatic shut-off feature and ensure the motor hasn’t overheated. Always unplug the unit before inspecting or attempting any repairs. Refer to the manual for warranty information and support if issues persist.

Warranty Information and Support
Rival appliances are warranted against defects in materials and workmanship for a specified period from the date of purchase. Please retain your proof of purchase for warranty claims. The warranty covers product defects under normal household use and does not include damage from misuse or neglect.
For warranty service or support, contact Rival customer service. Refer to the instruction manual for specific contact details, including phone numbers and online resources. Online manuals and frequently asked questions are often available for quick assistance. Always have your model number ready when contacting support for efficient service.